
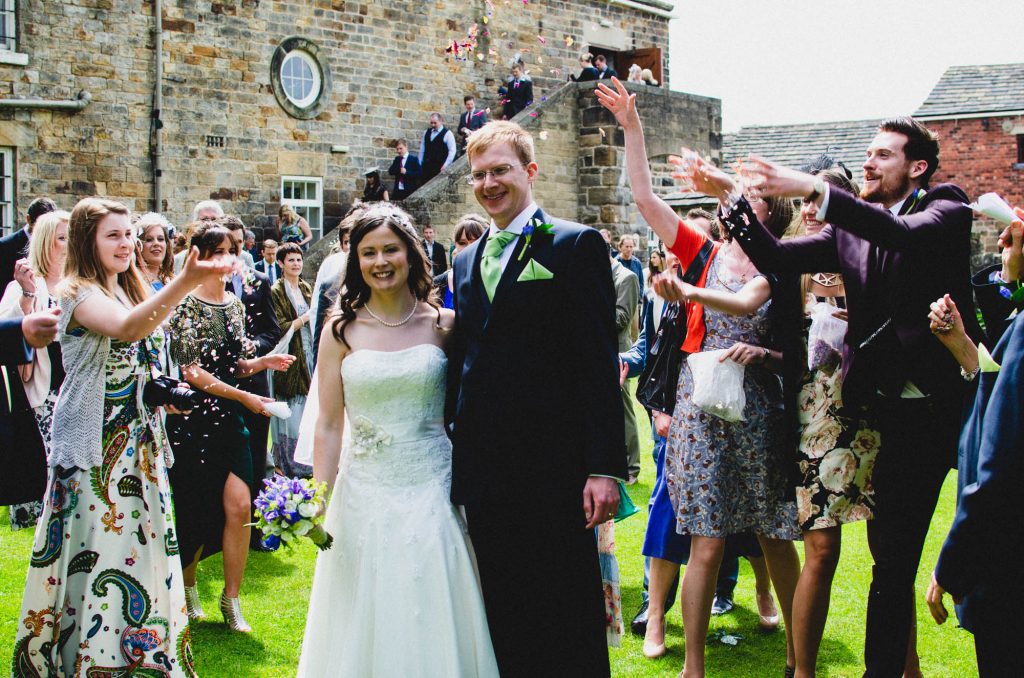
Sam & Paul’s Hornington Manor Wedding
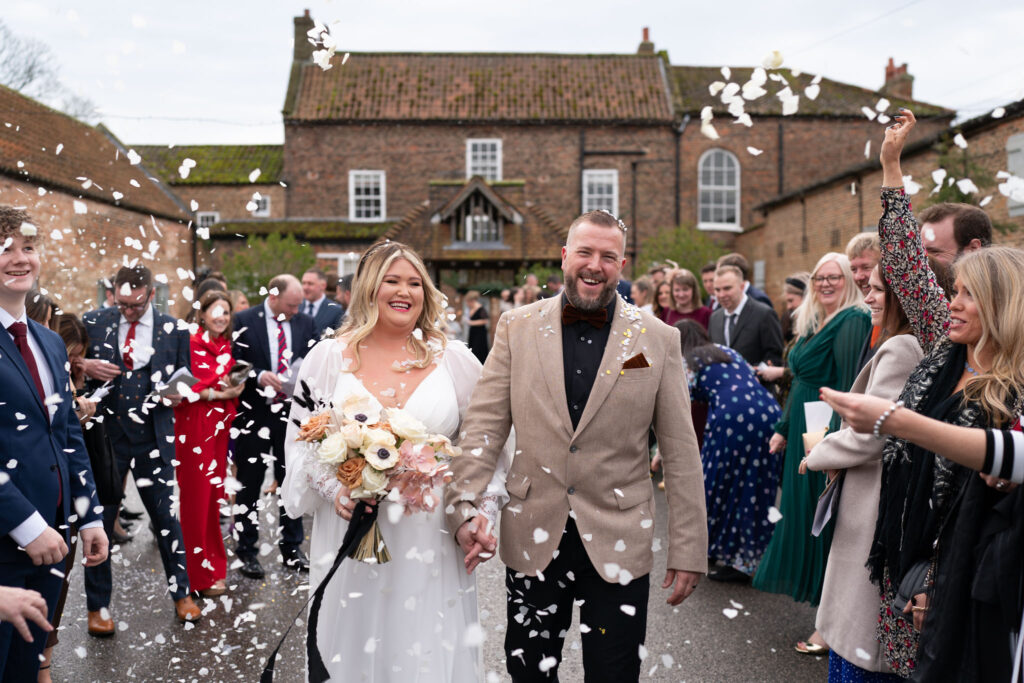
Every wedding I photograph is an honour and a pleasure, those who ask me know how much I love what I do. But when I’m photographing the wedding of someone I know it’s even more special. Playing such an important part of my old school friend Paul’s wedding day meant a lot, and having the […]
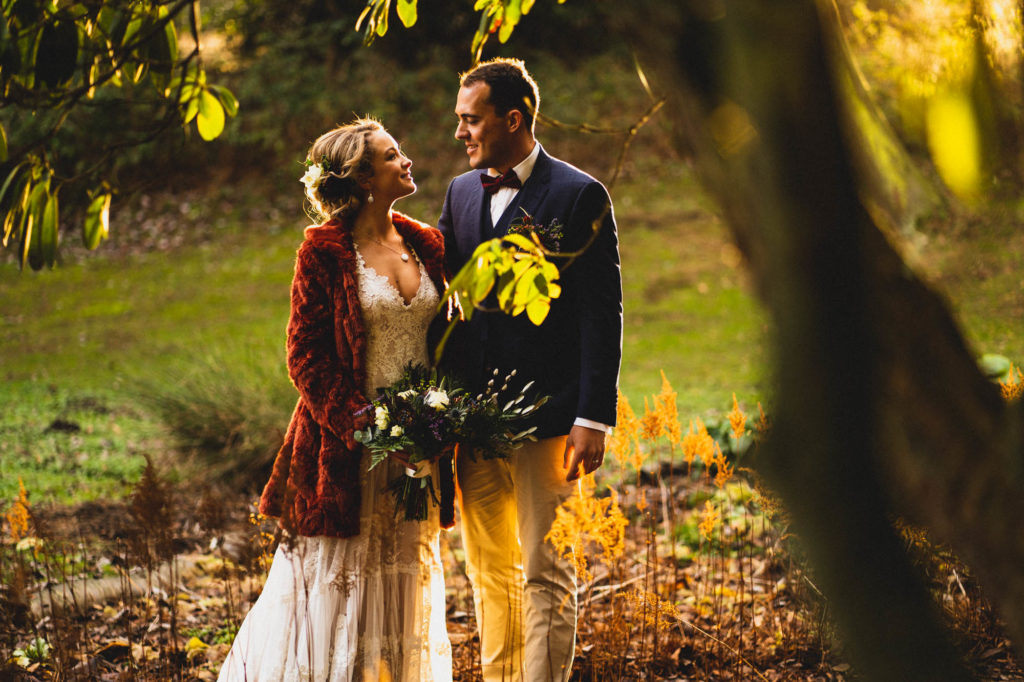
Leanne & Matthew’s Thornbridge Hall Wedding
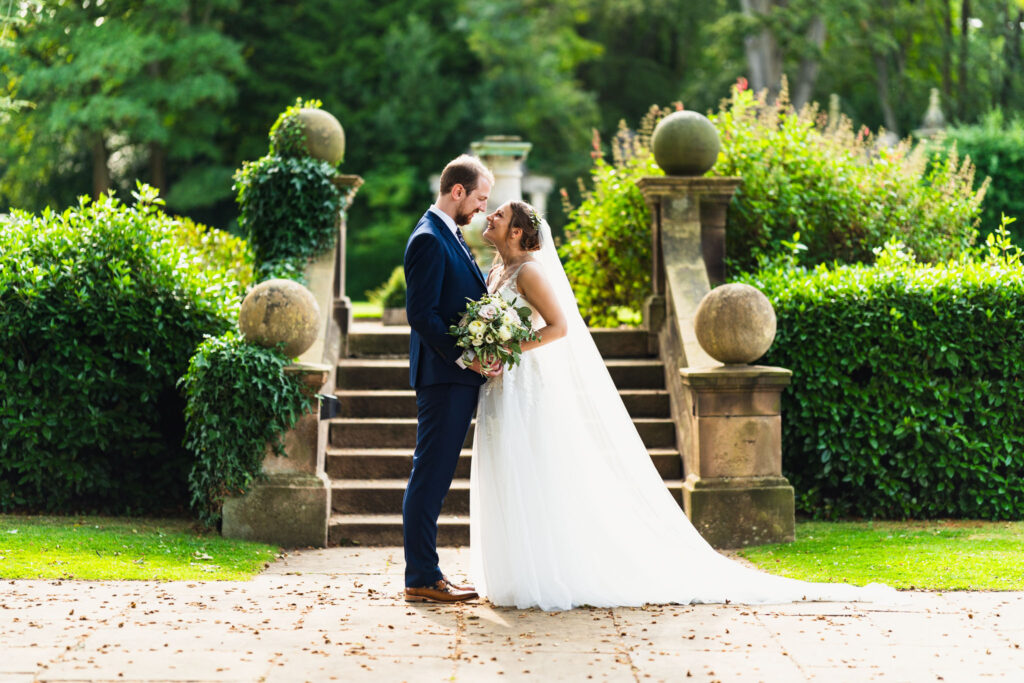
My first visit to Thornbridge Hall was most certainly not a disappointment, the venue is absolutely stunning inside and out, and the grounds are breath-taking. I also had the pleasure of a second visit to the St Thomas Church (STC) Sheffield for Leanne and Matthew’s ceremony. In all, a beautiful day in the company of […]
I Don’t Use Proper Cameras to Photograph Weddings Anymore
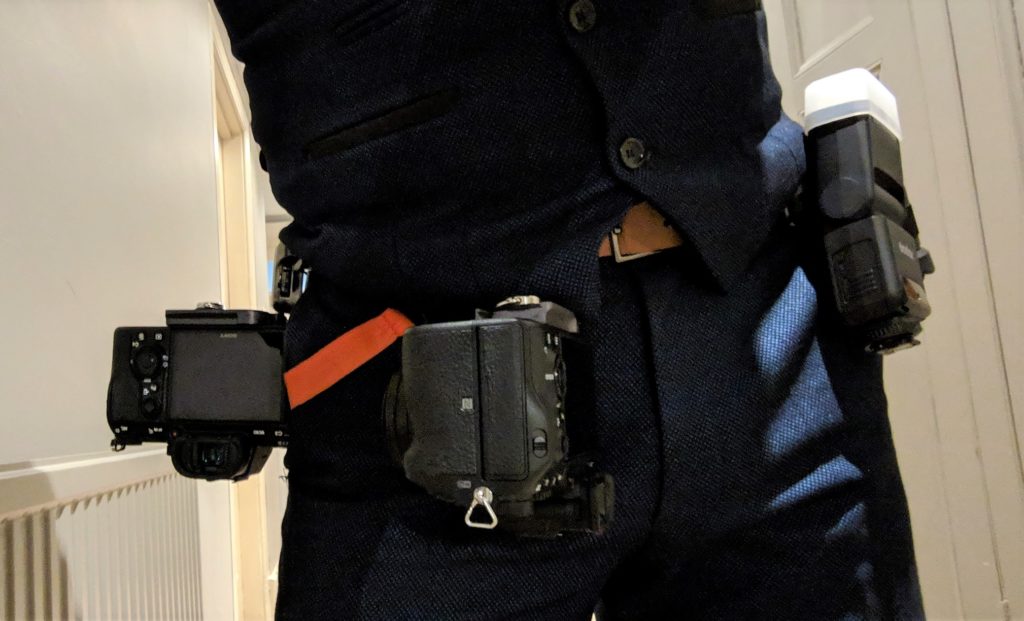
No More ‘Proper’ DSLR Cameras Up until the end of last year I used proper professional cameras for weddings. I had three Nikon DSLRs with fast, expensive, heavy prime lenses. Read about those here: Gear, Tools & Techniques :: How I Approach Wedding Photography in 2018 and here: My Wedding Photography Gear 2017 I had to use […]
Tewin Bury Farm Wedding :: Louise & Joe
Travelling is a passion of mine, so having the opportunity to leave Yorkshire and head down south to discover somewhere new is always very exciting. If I’m honest, I had never heard of Welwyn Garden City until Louise started to explain where they were getting married. I did my research before the big day and […]
My Revolutionary New Lightroom Workflow

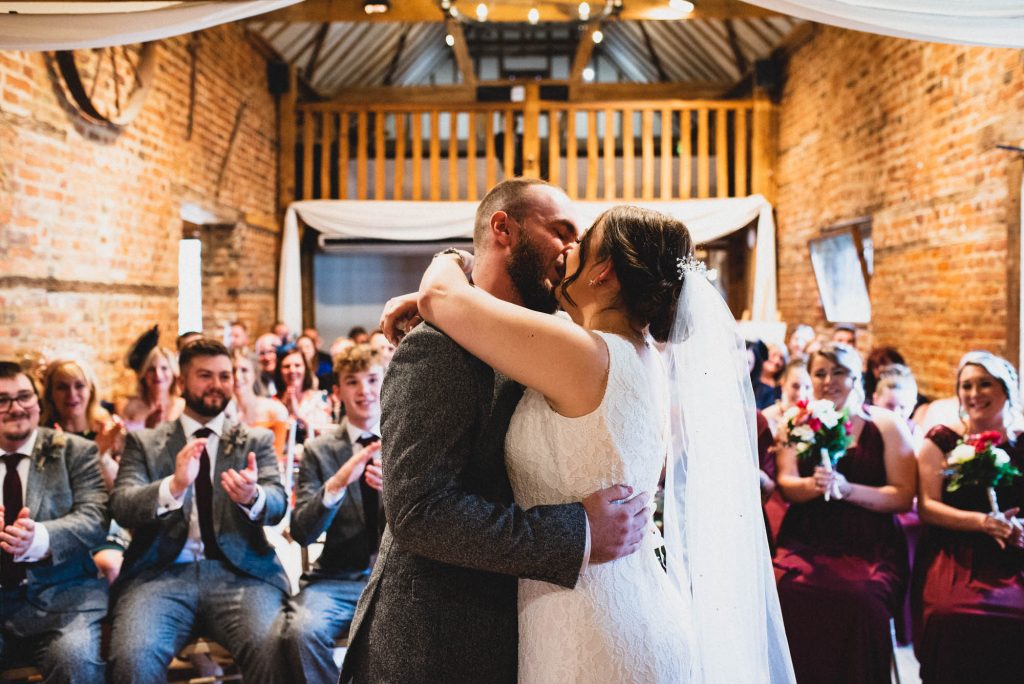
The Old Stables, Swithland Wedding :: Jenny & Sam

This wedding was featured in Boho Weddings blog in March 2019 – check that feature out on Boho Wedding’s Blog. I do enjoy it when I get to travel for a wedding. Although The Old Stables in Swithland isn’t actually that far away from my HQ in Sheffield it was still a welcome change of […]
Why Is Wedding Photography Expensive? The Value of Premium Photographers
Exploring The True Value of Premium Wedding Photography If you have ever wondered how wedding photographers get away with charging what they do then you need to read this. This article originally began life as a sales pitch to explain why I charged more than others for my wedding photography services. My goal was to […]
Wentworth Woodhouse Engagement Shoot :: Claire & Sam

Claire & Sam’s Wentworth Engagement Shoot These two beautiful people are getting married this coming June at the Rockingham Arms in Wentworth. Claire told me before this shoot that they were both really nervous and didn’t know what to expect. They wanted to have an engagement shoot so that they could get used to the […]
Wood Lane Countryside Centre Wedding :: Miranda & Alex
The Wedding That Started It All! This is the story of Miranda and Alex’s Wood Lane Countryside Centre wedding, all the way back in June 2013. The wedding also known as my first ever wedding! It was always a pity that this wedding never made it onto my blog. I actually photographed this wedding before I […]
How to Spot Great Quality Wedding Photos :: A Beginner’s Guide

If photography is not your passion then you may struggle to see the difference in quality between wedding photographers. In all likelihood, if you are looking for a photographer for your wedding then this is your first time booking a photographer of any kind. Unfortunately, many in your position resort to judging photographers based on […]