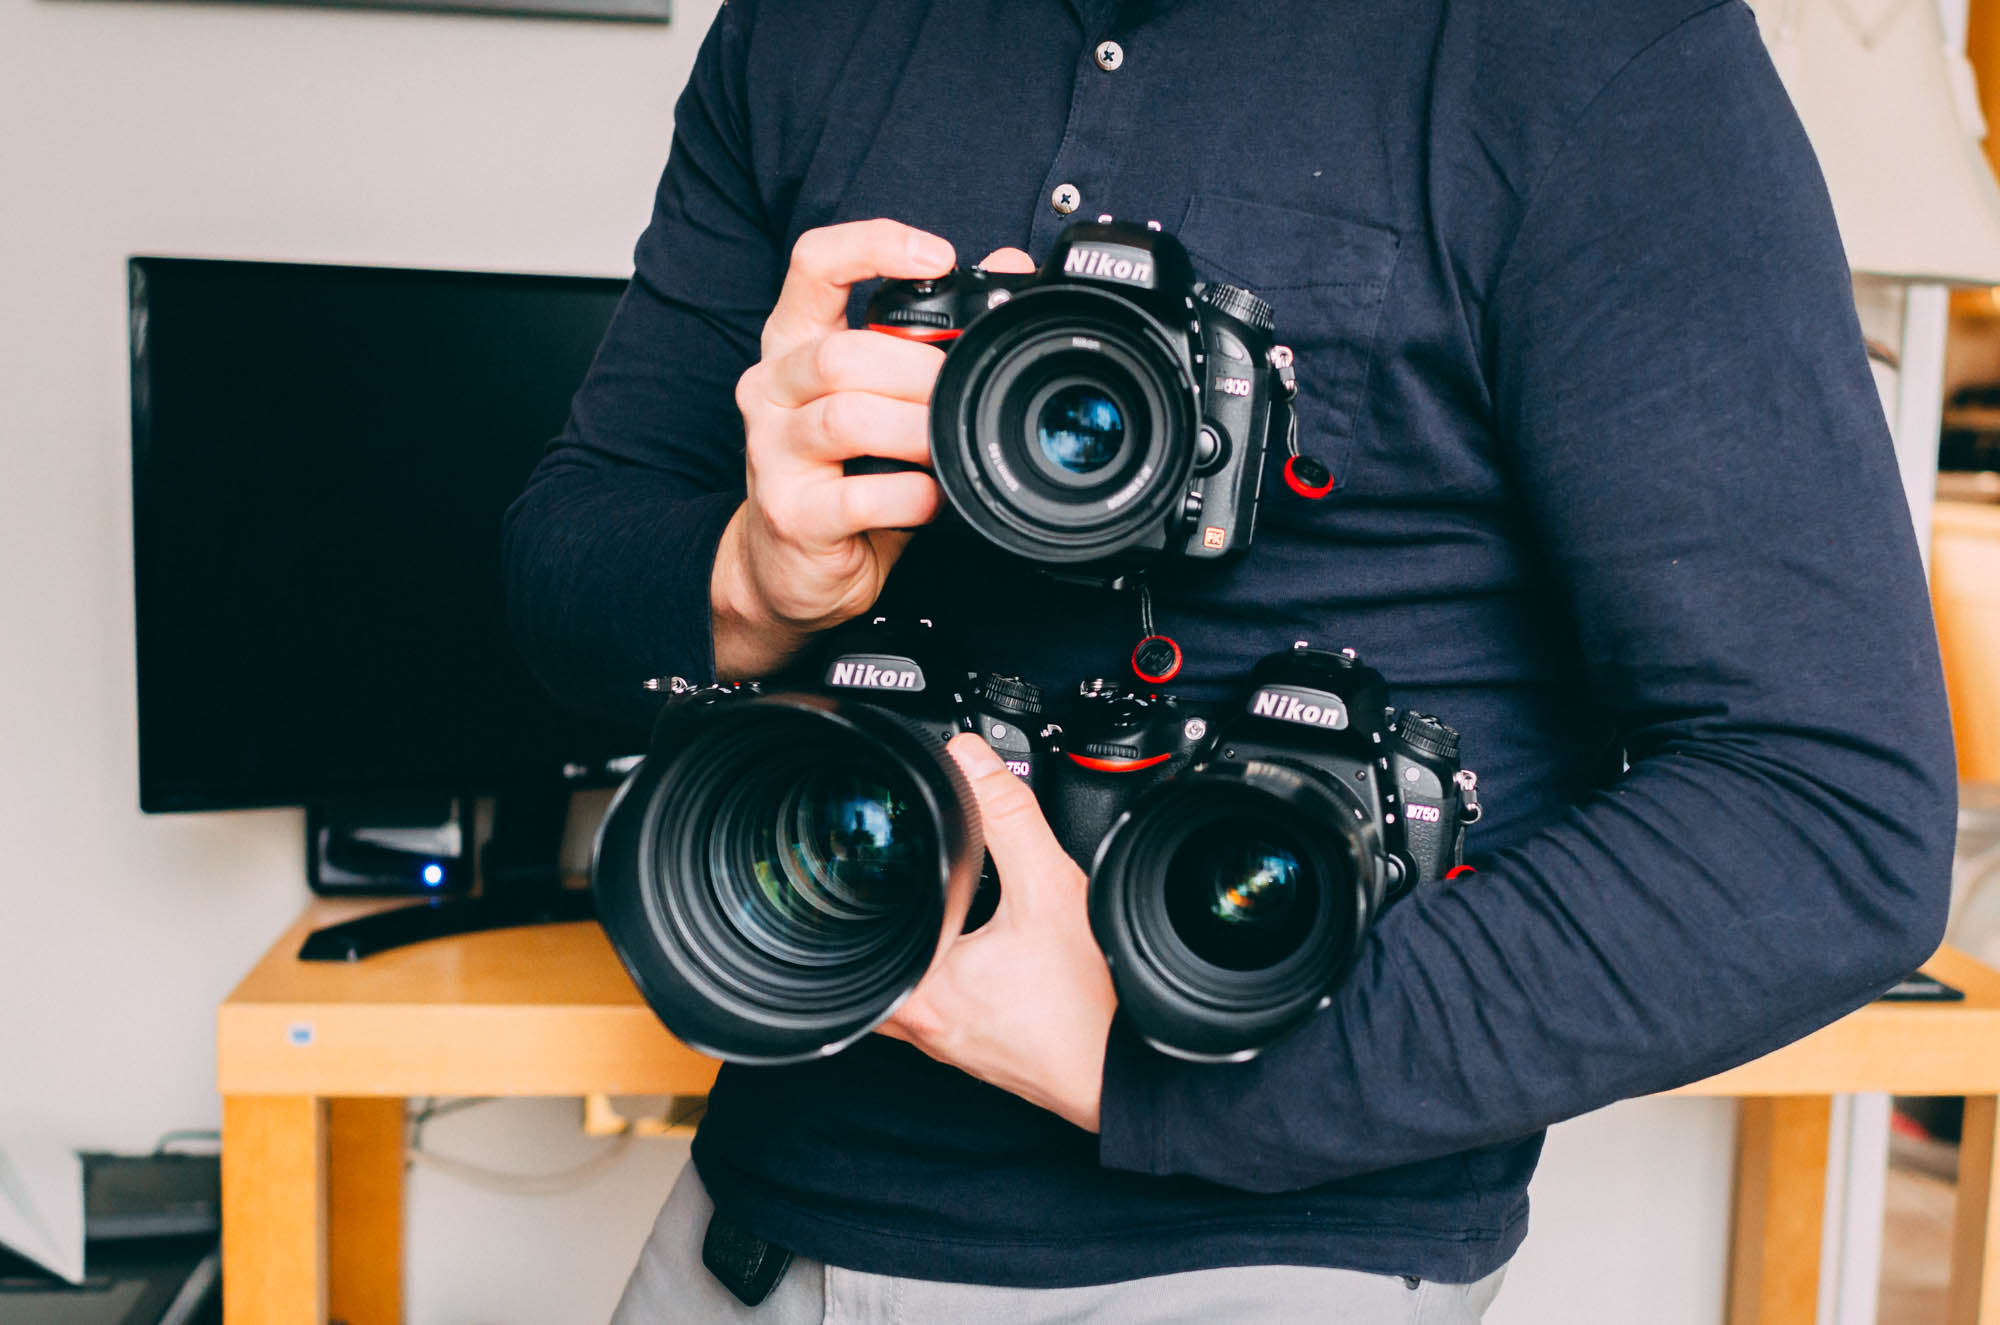
I know what you’re thinking.
Another photographer blabbing on about his camera gear.
Well, as much as I do love discussing camera gear, this update is really more about how my tools and techniques will benefit you as a bride or groom-to-be.
I wanted to give you a complete ‘behind the scenes’ look at what I will use before, during and after your wedding.
Hopefully, you will then understand a little more about the process and thus what to expect when your wedding day comes around.
Having said all that, let us begin with my favourite subject.
My Camera Gear
Don’t worry, I’m not going to bore you with talk of frame rates and megapixels, I went through all that in My Wedding Photography Gear post last year.
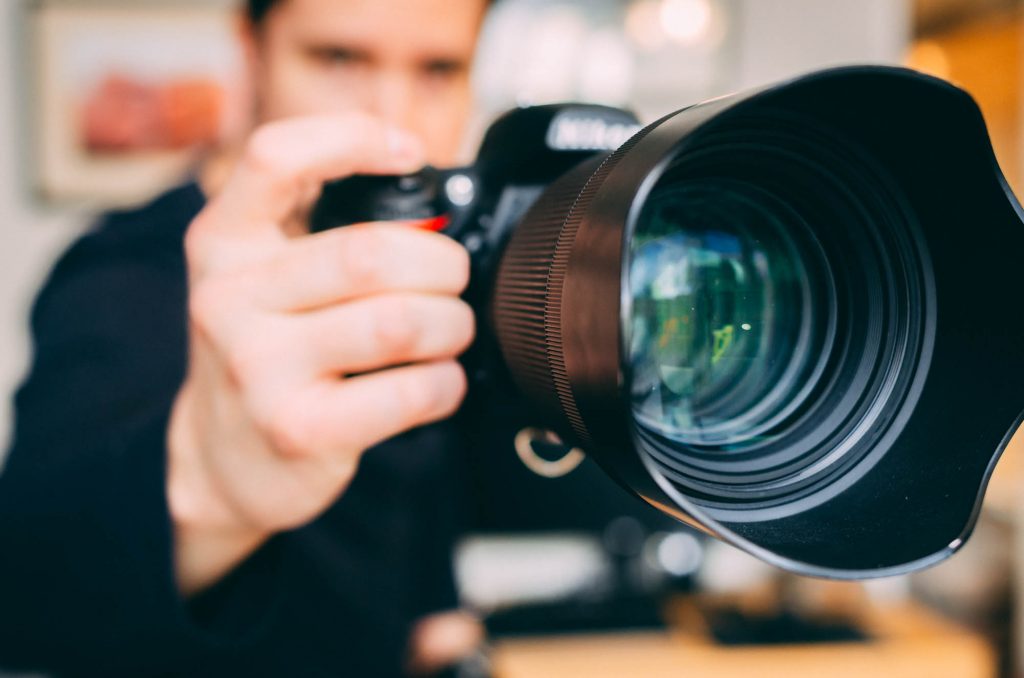
You know what would really help me out?
Warn all your guests that I will be turning up with three cameras attached to my body.
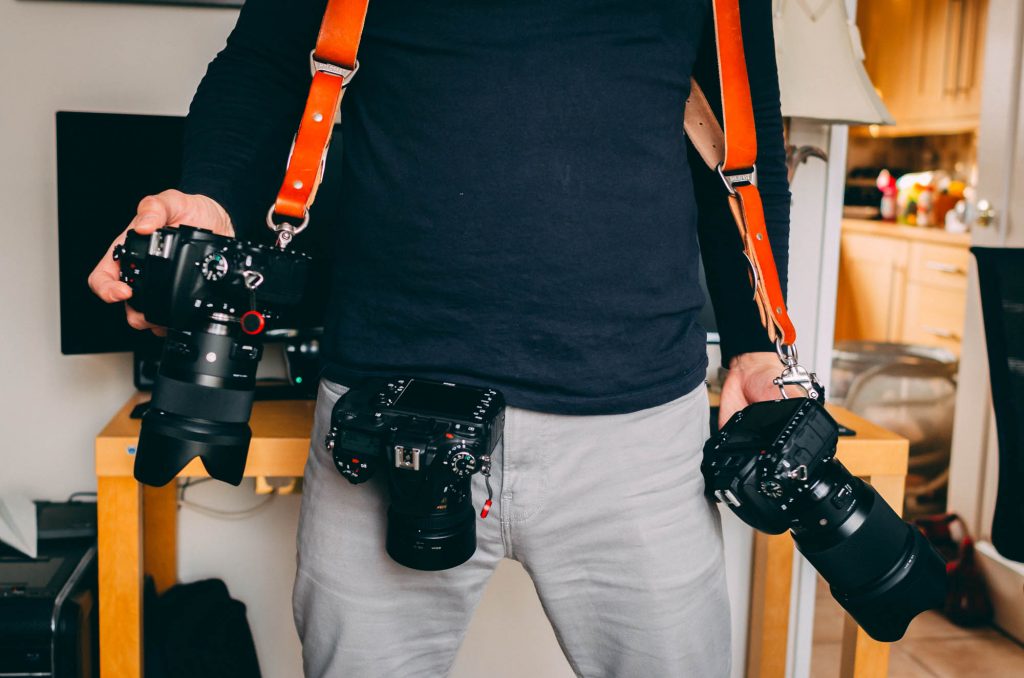
I’m joking of course, I’m getting pretty good at responding to people who ask me about them these days.
I even have a standard comeback that you can listen out for at your wedding.
Guest: Do you really need three cameras?
Me: Now you’re starting to sound like my wife!
Both: *Chuckle and walk away.
Actually that’s fine, I enjoy a little banter. It breaks the ice.
So the question you might have is why on earth do I need three cameras?
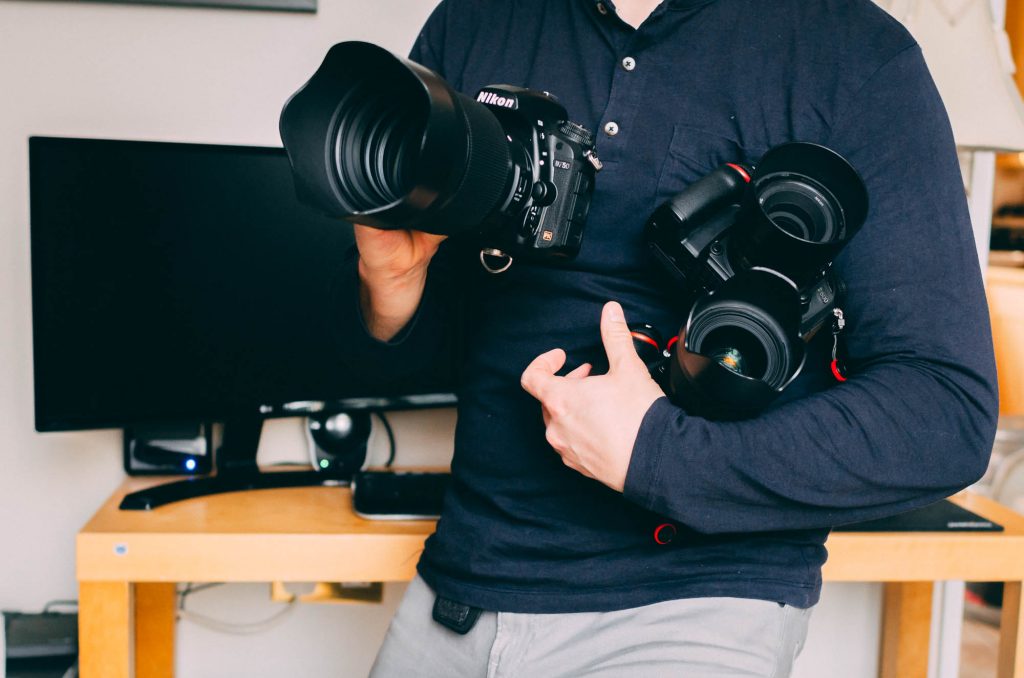
Well, I have three lenses that I use 95% of the time covering three fields of view.
At any given moment during a busy wedding day I may need any of these three lenses. Having them all locked and loaded and on my person makes it much less likely that I will miss a moment.
Another key factor is that it is much less likely that all three will break down at once.
I am fortunate that I have never had a camera fail on me during a wedding. When that day comes I will still have two working cameras left to carry on shooting with.
I do hope my wife is reading this. She really does ask me why I need so much gear.
For the photographers!
I realise that no matter how much I try to write this for the benefit of my future brides and grooms, most of the readers will probably be fellow photographers.
So, photographers here are all the interesting bits.
Non-photographers, here are the boring bits.
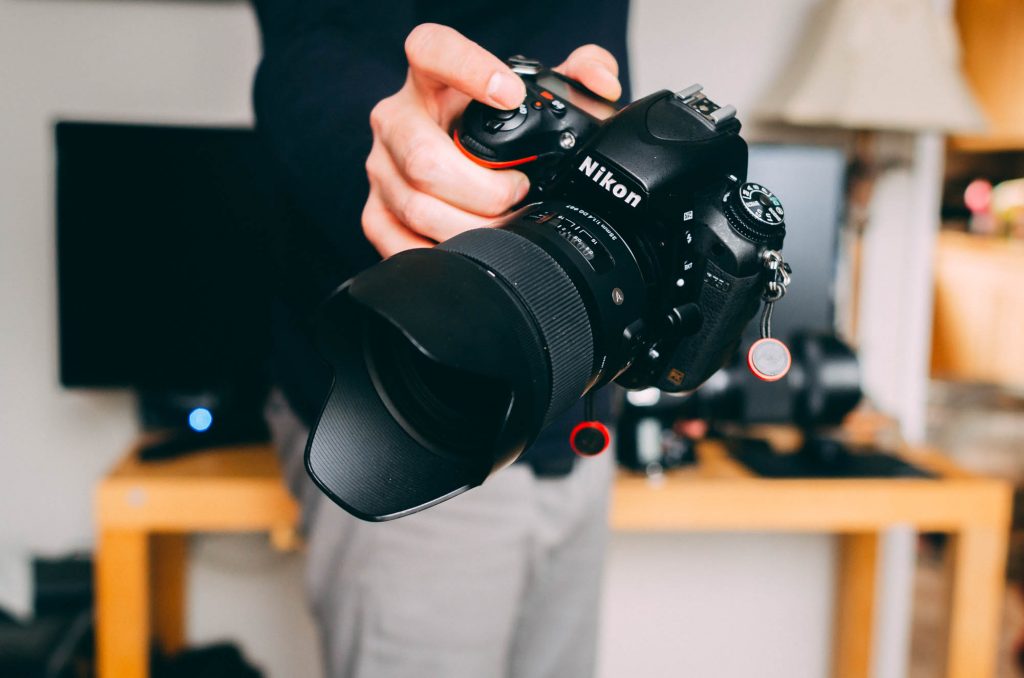
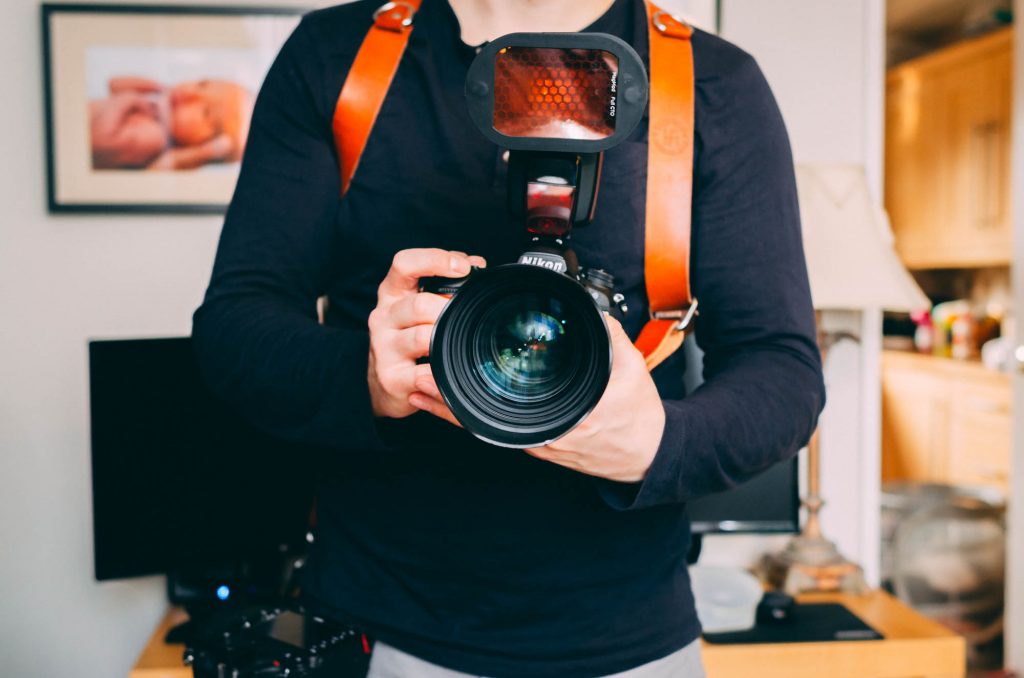
My three camera setup comprises 2x Nikon D750s and 1x Nikon D600.
The D750s carry Sigma 35 f1.4 Art and Sigma 85 f1.4 Art lenses respectively.
Those 2 cameras are suspended from my body attached to a HoldFast MoneyMaker.
The D600 is pretty much always paired with a Nikkor 50mm f1.8G.
I clip that camera to my belt using a Peak Design Capture V3 and a Pro Pad V2.
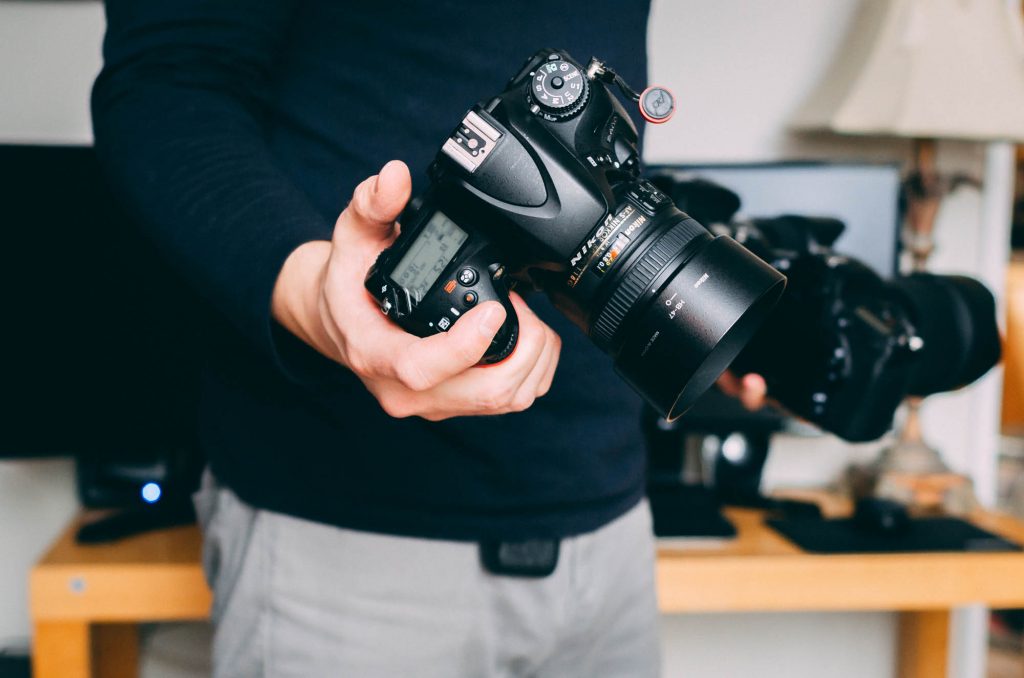
I get a lot of questions about the Sigma 85mm Art lens and whether it is any good.
In my opinion, if you are on the fence about buying one I can only tell you that it is amazing and that you should go for it!
If you do get one I will also suggest that the first thing you should do is calibrate it. I noticed that it was missing focus massively until I fine-tuned it. If you’re not sure how drop me a message and I’ll share my technique.
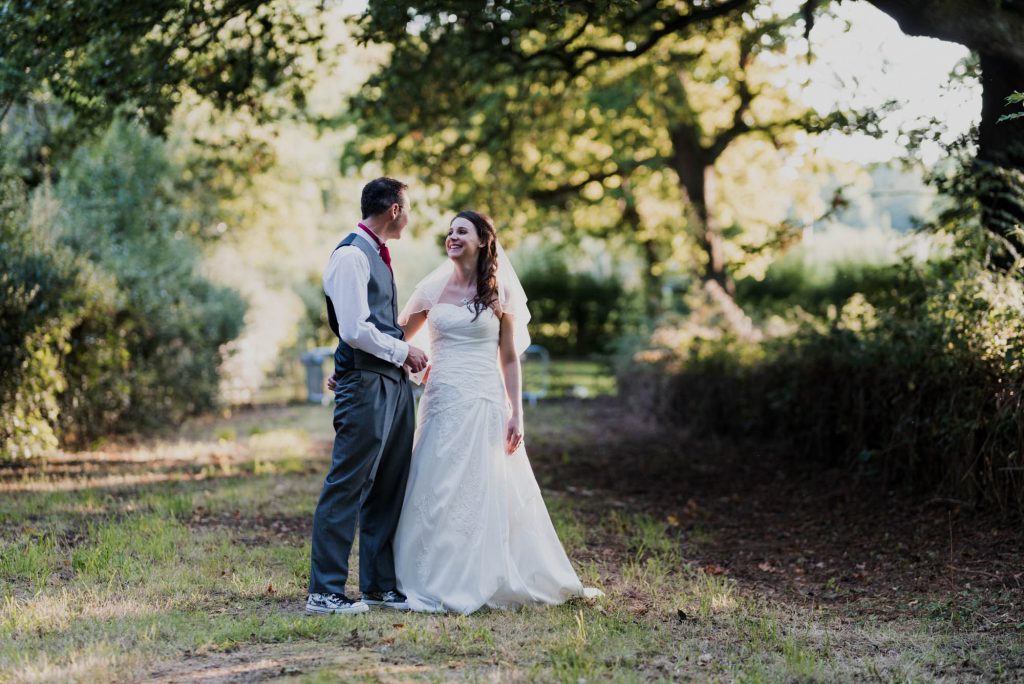
The photo below was taken with the Sigma 85 attached to a Nikon D750 @ 1/200s, f1.8 ISO 180, taken around sunset.
That lens rocks!
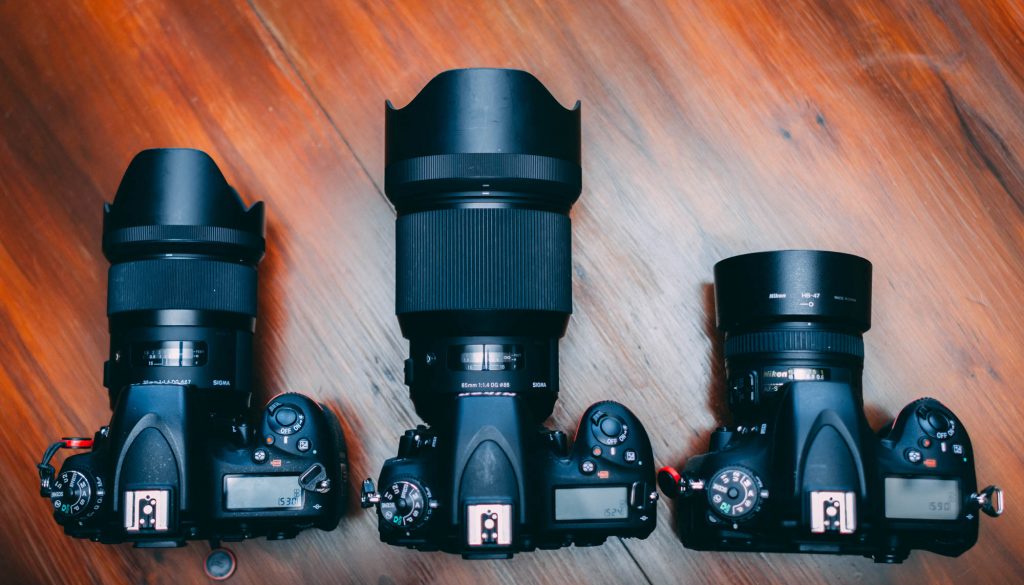
The downside?
It’s huge!
Flashing
When the sun goes down, out come the flashes.
I bring 4 speed lights along with me, 1 is a Nikon sb700, the rest are cheaper but still perfectly serviceable flashes made by Yongnuo.
I slap a variety of MagMod bits of magnetised rubber on them for various reasons.
For the two that don’t sit on the top of the camera I use Pocket Wizard Plus IV triggers to make them flash when I want them to.
I feel like at this point I am probably losing my non-photographer audience so I’m going to move on.
If you want to carry on reading about my camera gear head on over to My Wedding Photography Gear for a deeper dive.
Managing the Client Experience – Before, During & After the Wedding
Non-photographers… you can come back into the room now!
So, let’s say you are interested in shortlisting me as a potential photographer for your wedding.
For most people the first step is to fill in my contact form.
Ever wonder what happens to your enquiry after you hit submit?
I’m going to pretend you said yes.
Studio Ninja!
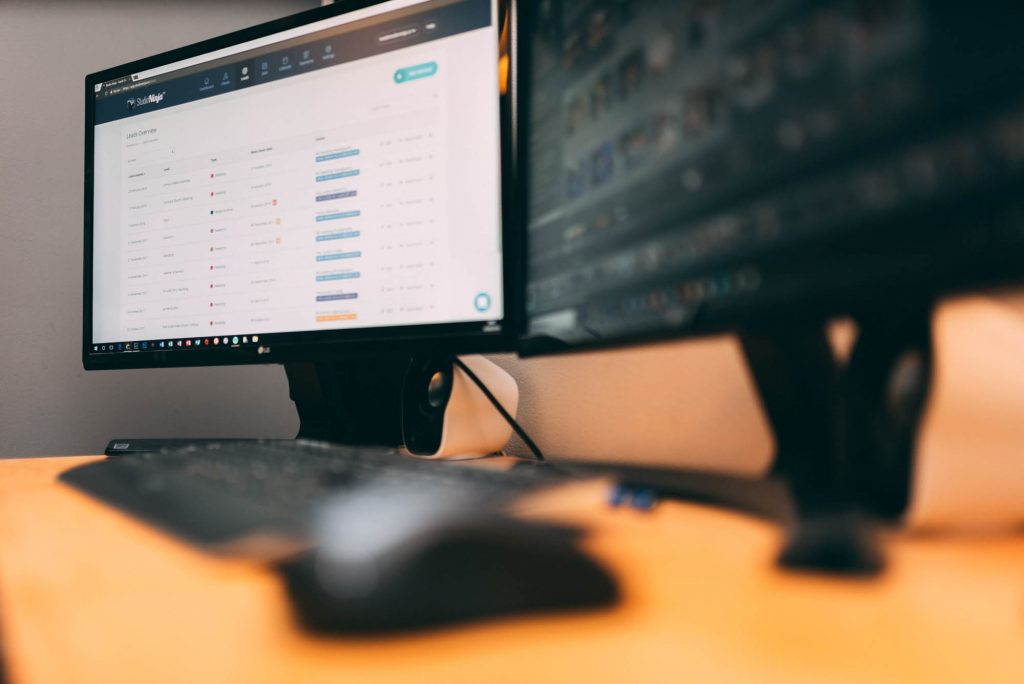
When an enquiry comes in via my contact form it becomes a ‘lead’ in my customer relationship management software, Studio Ninja!
I have set Studio Ninja up to automatically email all enquiries straight away just to let them know that the message is received.
When I log into the software I am told there is a new lead and I get to see the message that the person left for me.
I also see straight away whether I have any other weddings or enquiries on that same date.
All this means is that I can respond to enquiries much quicker and be confident that I am available when I say I am.
Once I have confirmed my availability and we have discussed options I am able to fire over a quote for exactly what the couple want.
If they go on to accept the quote then it becomes a Job in my Studio Ninja. The job contains a workflow covering the process before, during and after the wedding.
For the client there is a single portal containing the invoice, payment receipts, the contract and questionnaire.
For me I have all my weddings arranged in workflows so I never miss a task and always keep on top of meetings, shoots and quotes.
Awesome!
LoupeDeck
I want to throw in a special mention to the single most valuable purchase I made when it comes to improving my photo editing technique.
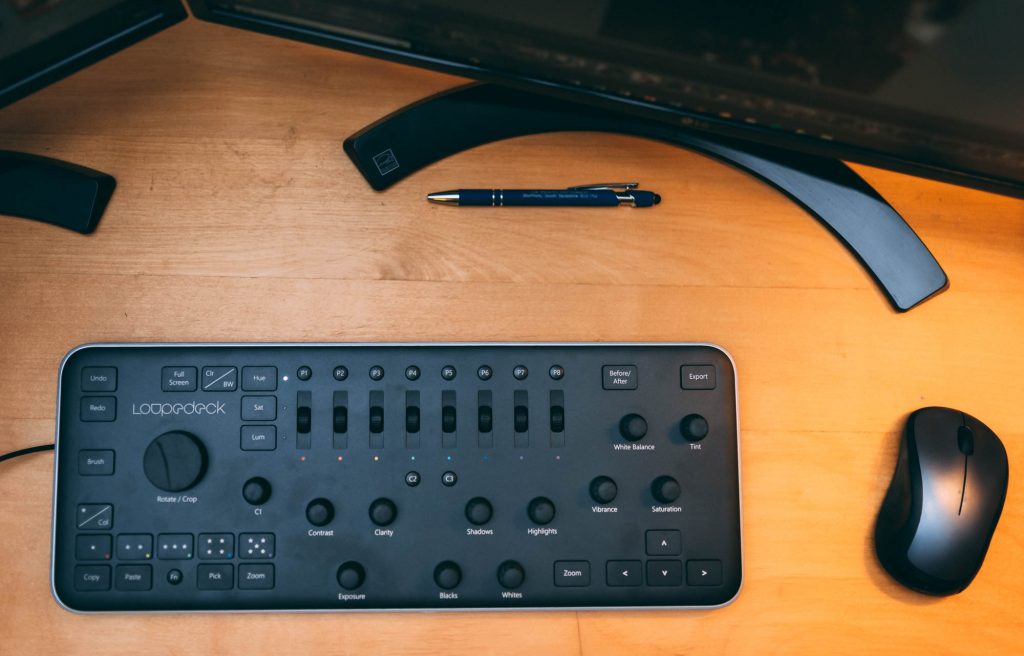
I know we’re heading back into ‘boring for non-photographer’ territory here but I think this is worth a mention.
Once your wedding is over I load your photos onto my computer, back them up a couple of times to make sure they’re safe, and then my LoupeDeck gets to work.
If you’re anything like my wife you will be scratching your head wondering why this is so much better than the keyboard and mouse I already had.
I am confident that this has improved how precisely I edit photos.
Would you notice the difference to your photos? Maybe not.
Well, at least you can be happy in the knowledge that I am a lot more comfortable and a little happier when I’m working on them for you.
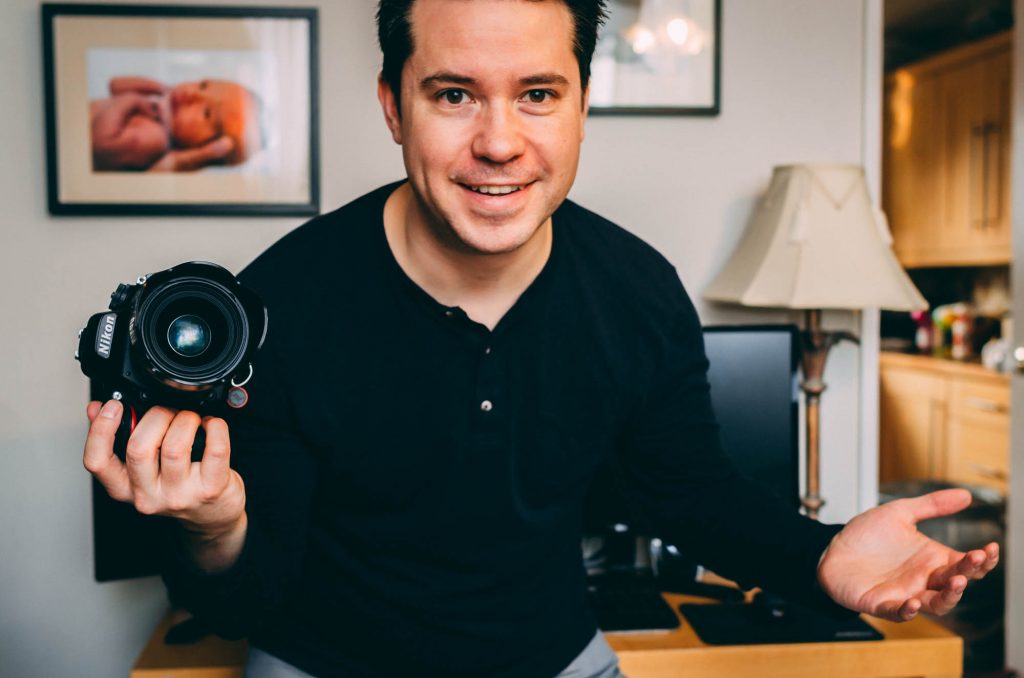
So, how was it for you?
So that about wraps it up for this little look behind the scenes.
Like I said earlier, I imagine most of the readers of this article are fellow photographers who are interested in what tools and gear I use.
That’s fine with me, I love being part of the wedding photography community and am always happy to share.
If you are not a photographer and still somehow found this interesting then I really would love to know about it. Feel free to comment or message me with feedback and suggestions.
And I really shouldn’t finish without mentioning that I am indeed a wedding photographer, so if you happen to know someone looking for one please do send them my details :-).
See ya next time,
James
FYI, the links to Amazon on this post are affiliate links. All that means is that if you use those links to buy the items from Amazon then I get some Amazon vouchers so I can buy more stuff! You won’t pay any more than the usual Amazon price. You don’t have to use those links, but it would be lovely if you did.
Photographers if you want to try out Studio Ninja yourself you can use the code JL114288Y to get $5 off your (and my) monthly subscription fee. 🙂
If you’re looking for a photographer for your wedding, have a look at my How Much page to get an idea of the services I offer.
For those still reading this, yes, I know I should have moved the laundry basket in the kitchen when I was taking these photos. I didn’t notice when I was taking them because I wasn’t looking through the viewfinder and now it really annoys me.
